Quick Weeknight Meal. Low Sugar. Low Sodium. 5 Ingredients.
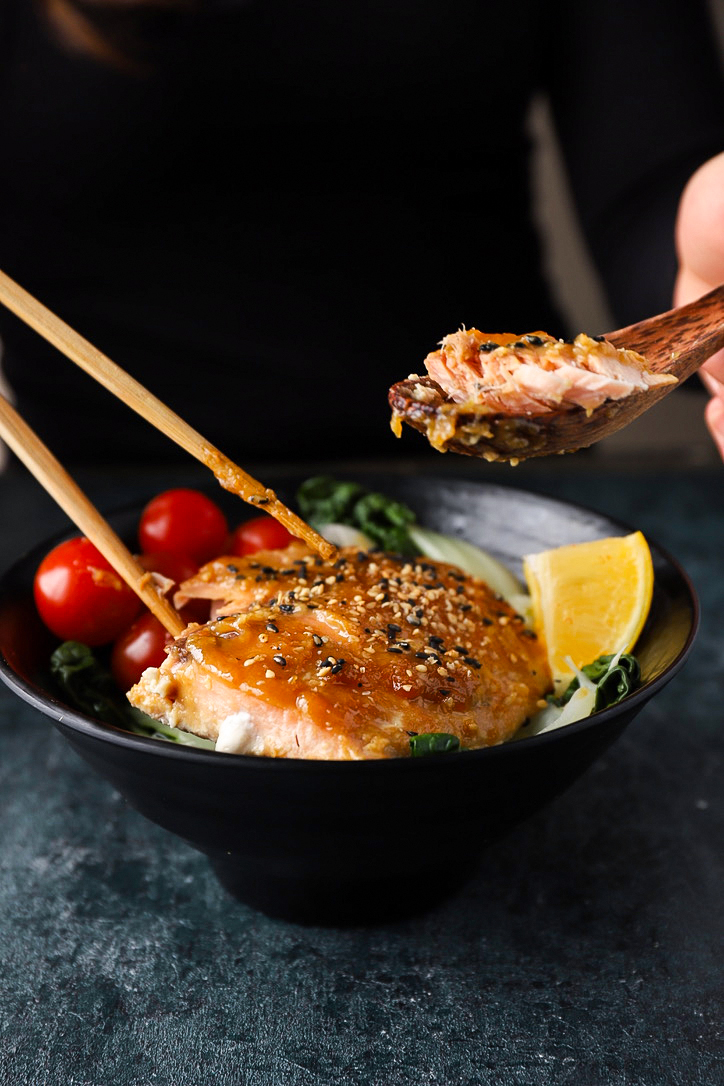 We always get asked the question, how do you take your photos? To be honest, I’m not quite sure. Its been such a gradual process – a skill that has taken 3 years to master. We regularly evaluate our pictures and try to look for ways to improve. Its like a never ending process of learning and we still have along ways to go.
I’ve been persuading Zoe to get into dark photography for awhile now. I just love the moody, dark vibe from the shadows contrasted by the vibrant colors of the ingredients/food. My amazing mum asked me what I wanted for my birthday and had planned to buy us both earrings (I do love wearing them). Instead, me – being Ms.Independent – asked if I could get my own gift and ordered a collection of dark vinyl boards for photography. Working off several youtube videos, we started our first experiment with dark photography.
Sneak Peek of “Behind The Scenes” Photography sesh:
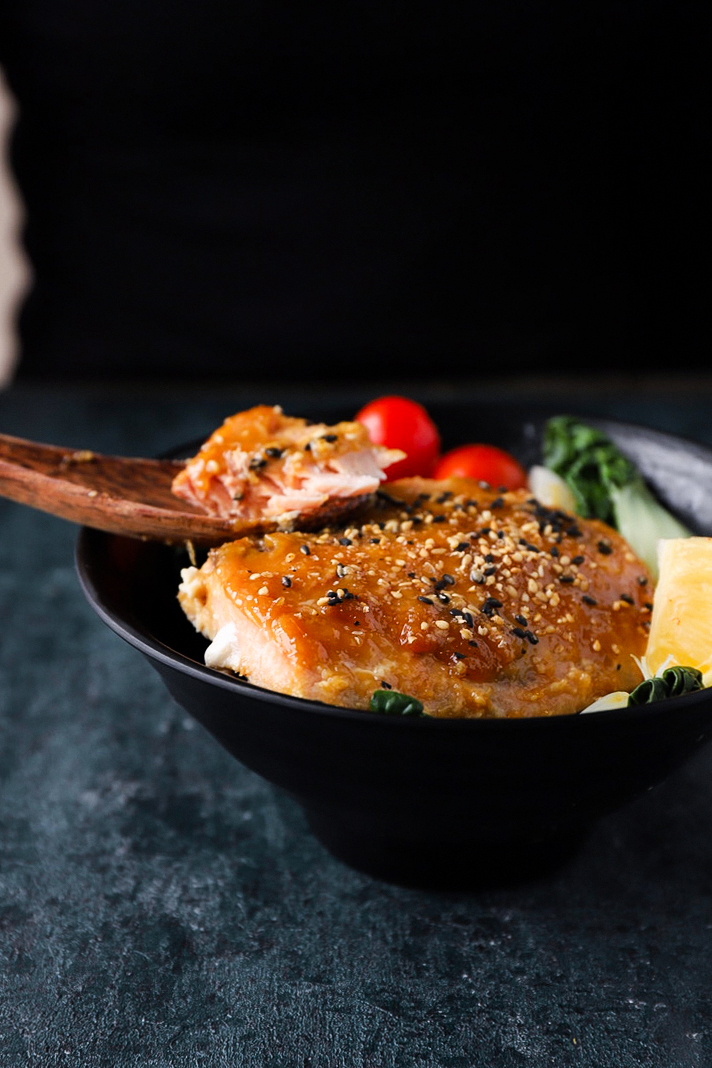
I am holding 2 dark boards one with my right hand and one propped under my chin, all the while trying to balance a spoon in my left hand trying not to shake as Zoe snaps a shot. The next thing I know, I’m kneeling sideways cramped behind the table trying to follow Zoe’s instructions.
“Lower. Move to the right. No My right. Ok, stop shaking. Just one more shot, don’t drop it. Angle the spoon in. Move the cloth….”
Zoe then balances the heavy camera and tripod while standing on a chair snapping shots furiously. It is 5pm by now and the sun is getting ready to set, so the light shifts after every shot. Every few minutes, she stops to adjust lighting according to the angle of the picture change. After a bunch of pictures, Zoe runs to her laptop to plug in the memory card. She stares at screen for few seconds before she give me the thumbs up.
Finally after 1 hour we collapse on the couch, exhausted.
After 5 minutes of resting, its time to clean up: wiping down the table, washing the 10 spoons we’ve used for pictures, putting away our equipment, readjusting the tables, rolling the boards…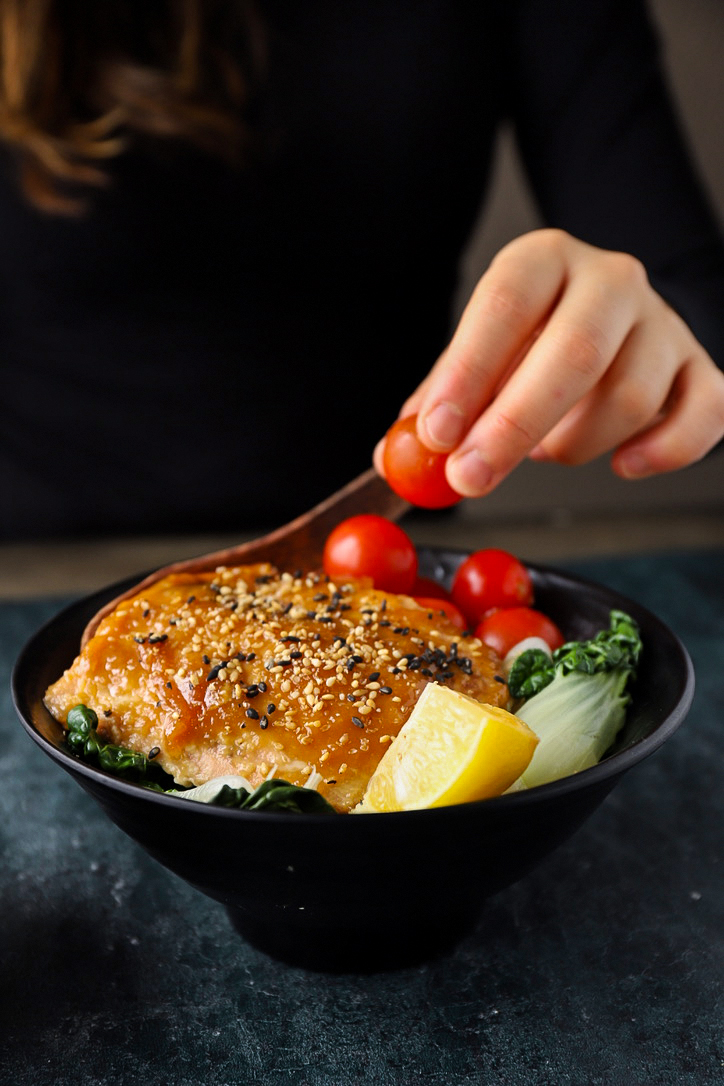
Yes, its hard work and very time consuming. But when pictures turn out perfectly, every minute of hard work becomes so worth it. Every week our photography sessions often consists of chaos, arguments and A LOT of mess. Reality is food blogging is hard. I ask myself why I’m still doing it? The answer is always. I love it. The most rewarding things in life take the most work. Something more beautiful is that it is amazing how our relationship as sisters has grown so much just from our weekly photography sessions. We spend this time creating something wonderful and beautiful together.
There is still so much perfecting with our photography skills. But I do have to brag and say we have PERFECTED this miso salmon recipe. It couldn’t be simpler in terms of ingredients and the procedure. Honestly, it took awhile (months) to find a “healthy”, “low calorie”, “low sugar”, “low sodium” recipe that ALSO tastes GOOD.
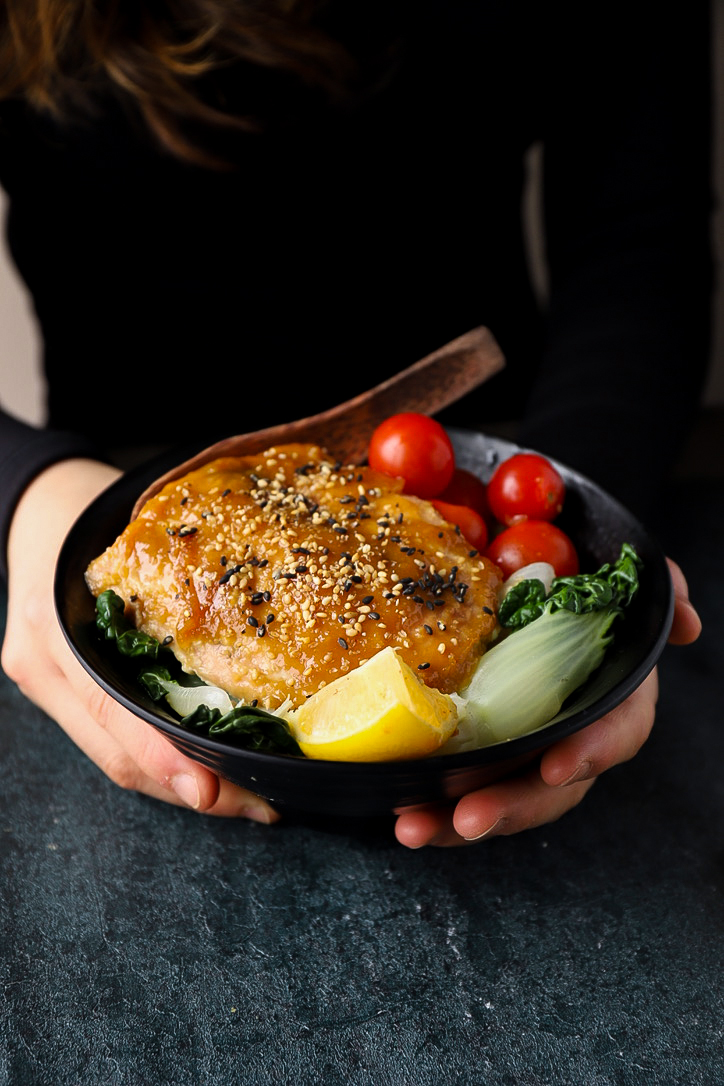
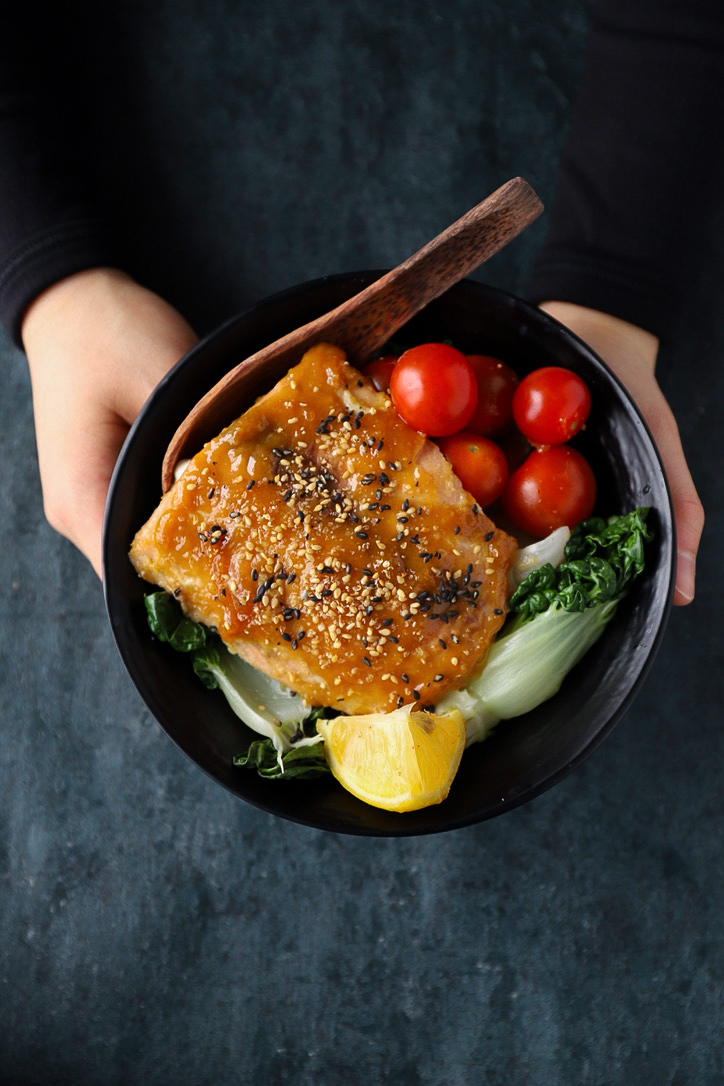
Sweet & Savory Miso Glazed (Wild) Salmon done in 20 minutes. Say goodbye to store-brought dressings, this 4-ingredient marinade is low sugar and low sodium. Its so easy to make and tastes amazing. This is seriously why I spend so much time on this blog.
We used coconut aminos as a lower sodium alternative. The sugar is kept to the minimum. This portion serves 4, 171.1 calories each.
- 4 - 4oz Wild Salmon Fillets*
- 1.5 tbsp White Miso Paste (GF if needed)
- 0.5 tbsp Coconut Aminos (or GF Kikkoman Soy Sauce)
- 2.5 tsp Honey
- ½ tsp ginger, grated
- Sesame Oil, Sesame Seeds (optional)
- Preheat oven to 350F.
- Mix together all the ingredients for the sauce, except for the salmon.
- Line a baking tray with parchment paper.
- Arrange the salmon and divide the sauce over the salmon.
- Bake for 10-12 minutes until cooked. Drizzle sesame oil and sprinkle black and white sesame seeds.
Leave a Reply